Here's how to quickly configure your first project and let your pals take over the work.
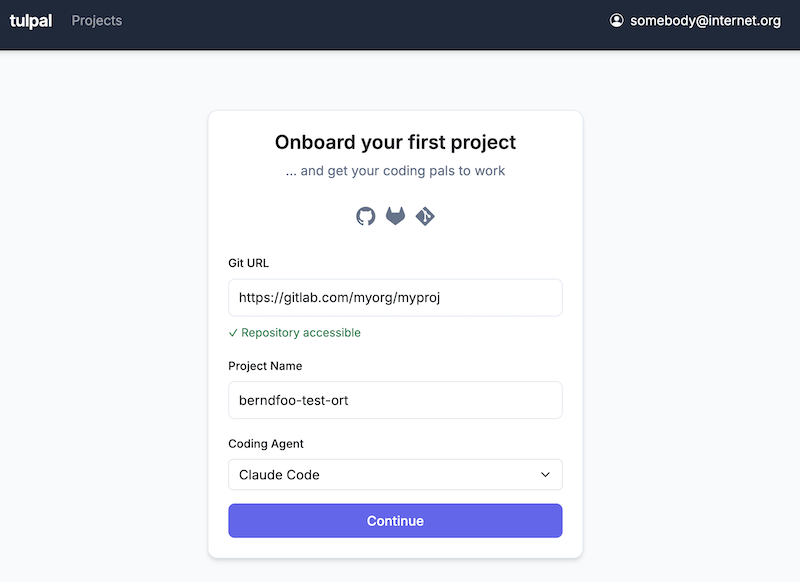
Once you've logged into the tulpal portal, the first step is to create a project. A project in tulpal corresponds links three important assets: git repository + issue tracker + coding agent.
https://github.com/your-username/your-repo.git). 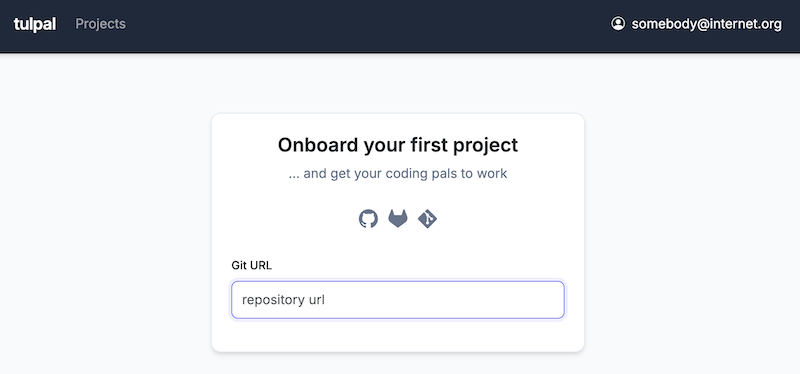
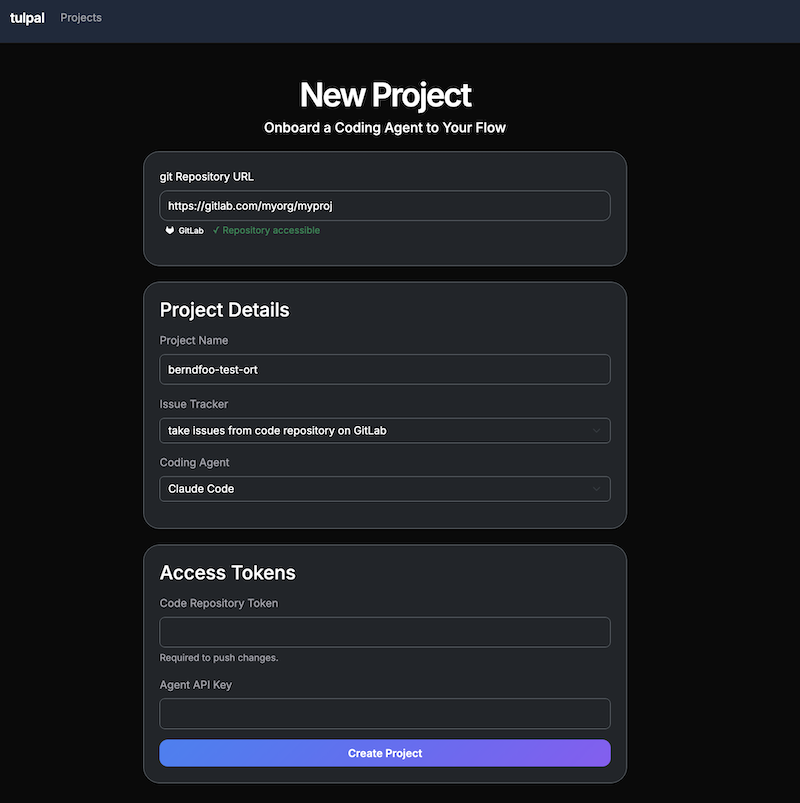
Now, tulpal will need access to your code repository, ticket tracker and coding agent. If code and issues are colocated in the same repository, only one access token is needed for that.
https://github.com/your-username/your-repo.git).tulpal watches your repository for issues that are assigned to it. To make an issue available to tulpal, you simply need to add a specific label. All other tickets will be ignored by tulpal.
Go to your issue tracker (GitHub, GitLab, etc.) and add the label tulpal-start to any issue you want the agent to work on.
Once the label is added, tulpal will pick up the issue within a few seconds and create show corresponding task in the system. Depending on already running tasks, the task is executed eventually.
You'll notice when tupal starts working on the task. You can monitor the progress in the tulpal portal. Or, even better, use the time and do something else.
If the task has been implemented successfully, good for you! Otherwise, you have two possibilities: